What you will need (feel free to substitute items. All codes relate to the Crafters Companion website):
- Water colour card – SPECN-WPAD9 and WTRCLR-CARD
- Matt black card – CC-MATTBLK
- Sparkle liquid inks – All 3pks (I am using “Cool Christmas” – SN-SPAR-LI30-CCHR3)
- Spritz bottles – SN-ACC-FSM4
- Acetate – CC-ACETHR12
- Double sided adhesive sheets – CC-ACC-ADHA4
- Red line tape CC-ACC-RLT3, CC-ACC-RLT6, CC-ACC-RLT12
- Just for you expression die – GEM-MD-EXP-JUFY
- Gemini Junior (UK only) – GEMJR-M-GLO
- Let your spirit soar – COLL-STP-LYSS
- Finesse alcohol proof inkpad – black – SN-IP-FAL-NBLA
Also using.
- Rock a blocks – CC-RAB1
- S/N non-stick, heat proof mat – SN-ACC-CMA1
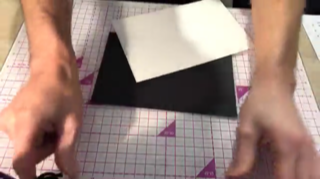
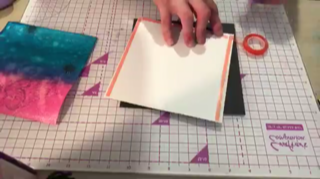
- Cut a piece of black card to 7”x7”, a piece of watercolour card to 6.75” x 6.75”, another piece of watercolour card to 6.50” x 6.50” and a piece of acetate to 6.75”x 7.25”
- On the longer side of the acetate, score at 7”, fold & burnish.
- Take a piece of A4 double sided adhesive sheet and cut in half, repeat with A4 black card.
- Remove protective backing off 1 side of the adhesive sheet and lay Black card over the top. Press firmly.
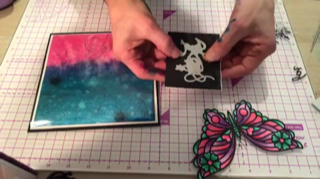
- Place the “Bold Butterfly” die onto the black side of the double-sided adhesive card and die cut.
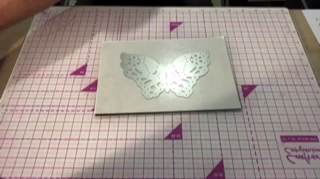
- Remove the adhesive backing off the die cut image and place onto a piece of watercolour card.

- Using your Tri-blend pens, colour in all the areas of the die cut image. Once complete, cut round the edges and place to one side.

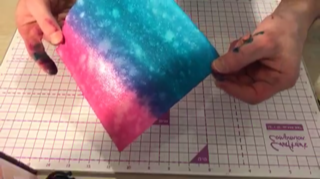
- Take your water coloured measuring 6.50” x 6.50” and using a brush give a good coat of water, just so its damp.
- Take your Icy blue and Frosted Rose Sparkle ink and brush over the top of the damp water colour card. Once happy, spritz over the top with the spritz tool.
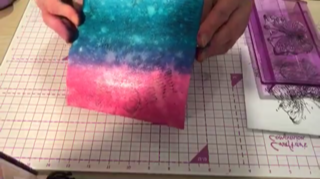
- Either leave to dry naturally or using your head gun, heat over the top of your sparkle spritz background until dry.
- Take your rock a block or acrylic block and using your “Let your spirit soar” stamp set & your Black finesse ink page, stamp a random background over the sparkle ink background.
- Using your red liner tape, mat your sparkle background onto the additional layer of white card and add red liner tape to the top of the back layer of white card.
- Bring in your acetate, fold over the top edge of the white card layer that has the sparkle background on it.
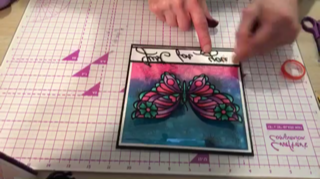
- Take your coloured butterfly and add a strip of Red liner tape down the centre of the body. Attach to the middle of your acetate.
- Cut an additional piece of black card to 7” x 1.25” and piece of water coloured card to 7” x 1”. Matt the white card on top of the Black layer and attach to base of acetate. Both layers being attached using Red liner tape.
- Cut a piece of the double-sided adhesive sheet and black card to 3” x 3.50”. Remove backing of 1 side and layer the Black card on top and press firmly.
- Using your “Just for you” sentiment die, place the die on the black side of the adhesive card and die cut.
- Peel the backing off the sentiment and place on the White strip along the bottom of the acetate.
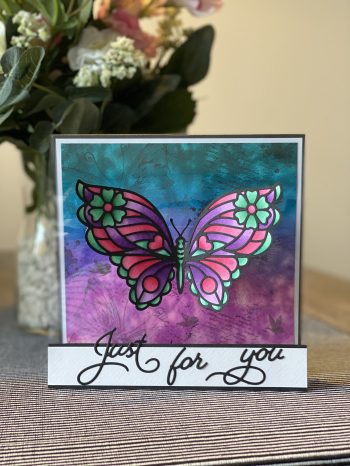
Completed
Hints and Tips;
When you remove the backing off the double sided adhesive sheets, keep the backing as it has a wax layer which is perfect for you to remove the backing off of 3D foam pads and you can place your image onto the sheet until ready without it sticking.
When die cutting card with adhesive backing include your metal shim that comes included with the Gemini junior.
When using sparkle ink, to save cleaning your glass mat at every stage, using a Spectrum noir non-stick craft mat and this can be removed straight after ink to clean later and you can get straight into crafting
When spritzing with water, to get more depth by having a larger water resist effect, spritz water onto the tips of your fingers and flick onto your background.
When stamping your background with Black, to create a lighter, rustic look without using another colour, press your first impression onto a piece of scrap paper then stamp the 2nd generation onto your sparkle background.
Whenever you’re stamping a background, remember to stamp off the page as it gives the eye a sense of freedom.
