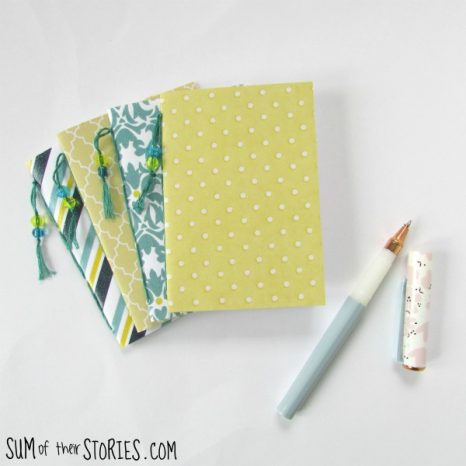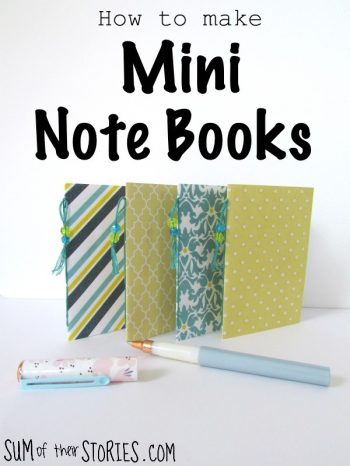
Hi, I’m Julie from Sum of their Stories and I’m so happy to be here today to show you how easy and fun it is to make mini notebooks. They are great for popping in your pocket or handbag for jotting down ideas, they’d make fun stocking fillers or would be fun to pop into party bags. They would be a fun craft activity for a children’s party and young teens could make these easily for all their friends.
For these little books I used scrap book paper from one of those stacks of co-ordinating colours and patterns. The paper is actually more like a light card which makes it perfect for making notebooks.
If you use A4 printer paper to make the pages as I have then your mini notebook will end up 7.5cm x 11cm.
What you need:
• Scrapbook paper
• A4 Printer paper
• Embroidery thread
• Beads
• A guillotine
• A ruler
• A sharp needle with a large eye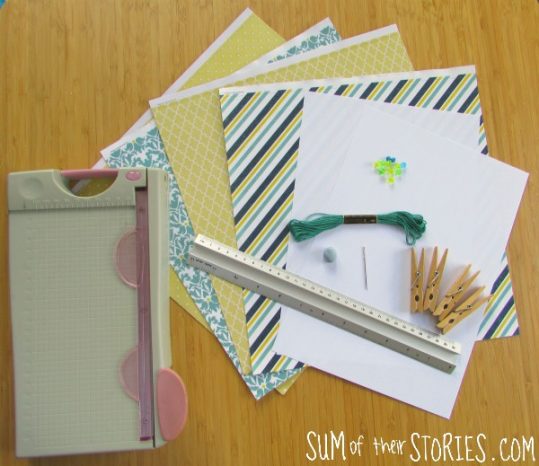
• A lump of Blu Tack
• Clothes pegs
First make a stack of pages. Take 2 sheets of printer paper, lay them on the table landscape and fold in half. Just press the halfway point at the top with your finger to mark it. Cut in half using the guillotine, use the little pressed fold mark to find the centre. Stack up the pieces and repeat. You’ll have 8 pieces of paper, all ¼ A4.
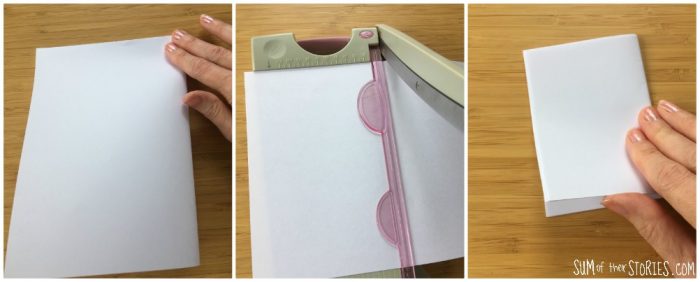
Fold these sheets in half. The edge will be a bit uneven, just straighten that up on the guillotine.
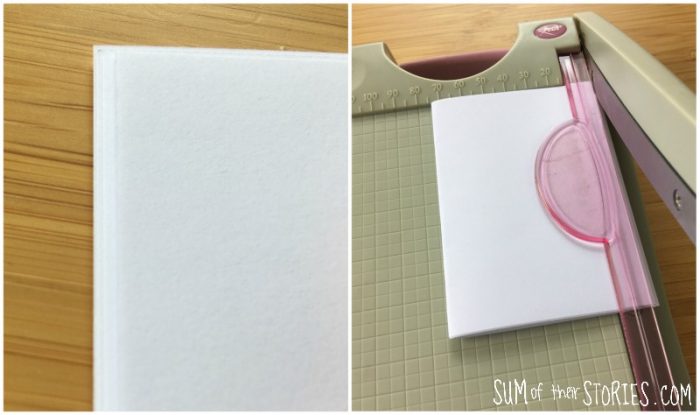
Cut a piece of scrapbook paper just a fraction bigger than your stack of pages then fold it in half.
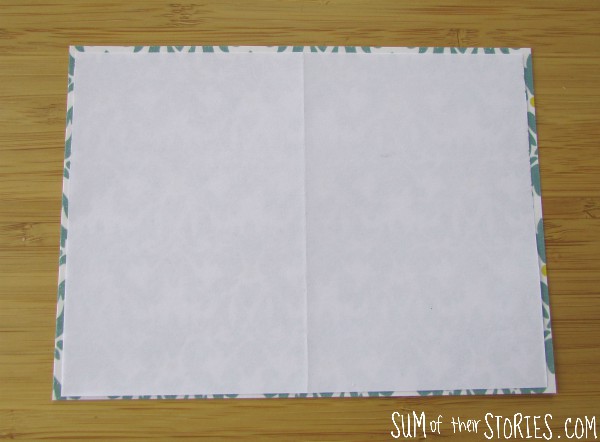
Place the stack of pages inside the cover, lining up the centre fold and then hold it in place with clothes pegs.

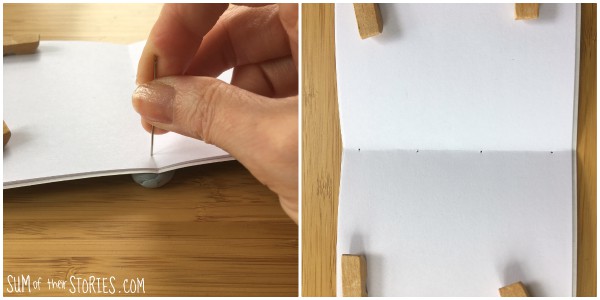
Place the ruler along the fold line and using the needle mark little holes at 1cm, 4cm, 7cm and 10cm.
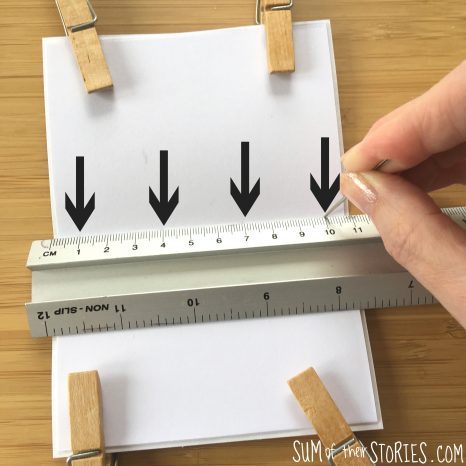
Place the lump of Blu Tack under the papers and poke the needle right through where you’ve marked, making sure it goes right into the Blu Tack. The Blu Tack will stop the card and paper from creasing. It’s a trick I use a lot when papercrafting, you can see more about it here.
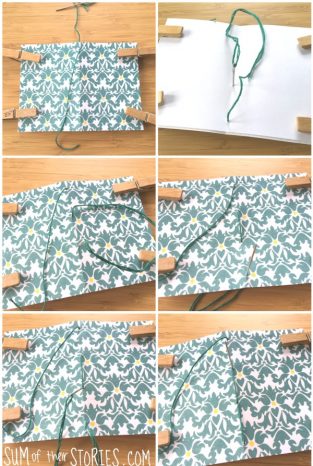
Take a 50cm length of embroidery thread and sew the book pages together in the order shown in the photographs. Start at the top, going in from the outside and leaving a long tail end. Once you have stitched the spine you can remove the pegs.
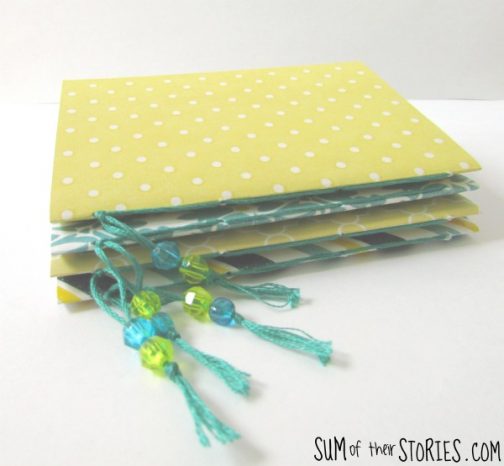
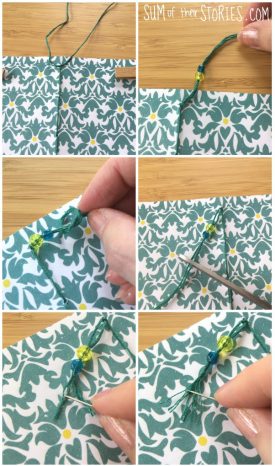
Tie the ends together right up against the top hole, thread 2 or 3 beads onto both threads and then tie a double knot to secure them. Trim the ends and using the needle comb out the embroidery thread strands to make a bit of a tassel.
That’s it, your mini notebook is finished. It’s a lot easier to make these than it sounds. Once you have made one you’ll want to make lots more.