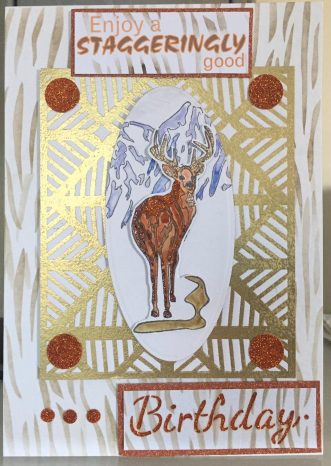
On the blog this week is Glitzcraft Design Team member Diane Perrott, showing you how to make unique embossed greeting cards.
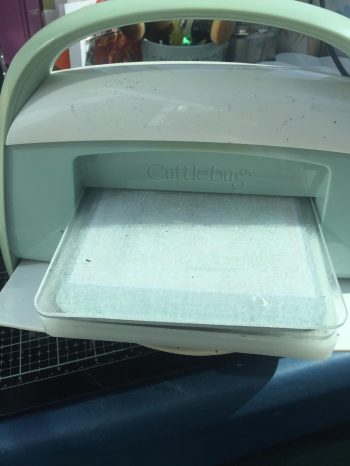
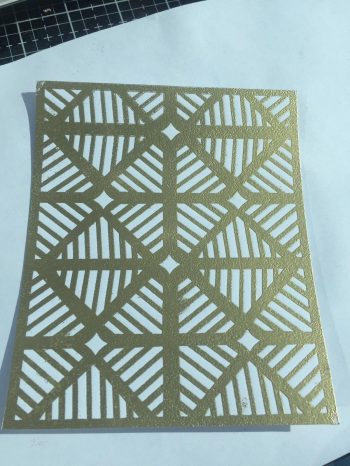
The gold embossing on this card is achieved by running the stencil through a die-cutting machine. Effectively, the stencil acts as a stamp.
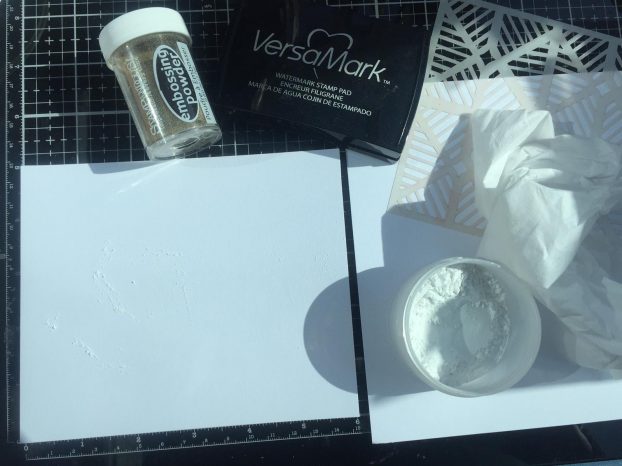
You will need:
- A suitable stencil (one with a fine background pattern works best)
- Card-stock
- Versamark pad or similar
- Embossing powder
- Die-cutting machine set up as if for embossing
- Heat tool
Method:
1) Cut a card piece slightly larger than the stencil, and rub it down with a little talcum powder or your anti-static bag.
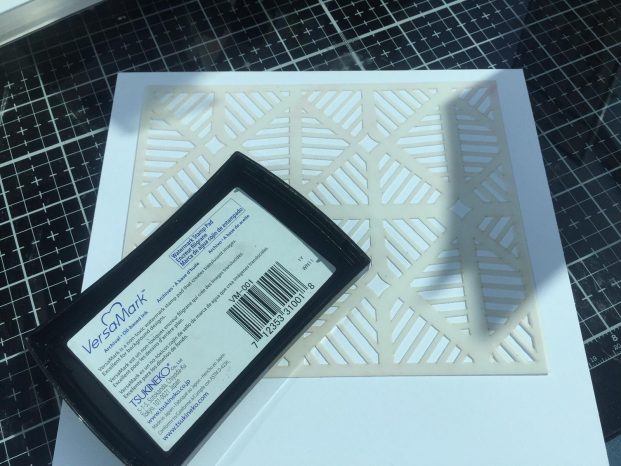
2) Lay the stencil on a spare piece of card and rub the versamark pad all over it (reserve this spare card for the next project).
3) Lay the 5×6 card on the embossing mat and carefully place the stencil ink-side down to the card. Add the final plate to create your sandwich and run the set through the machine.
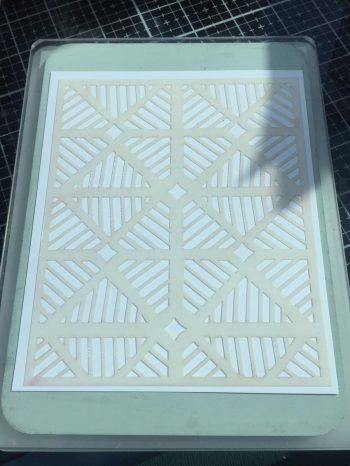
4) Carefully lift the card with stencil from the plate and lay them on scrap paper, then lift the stencil away.
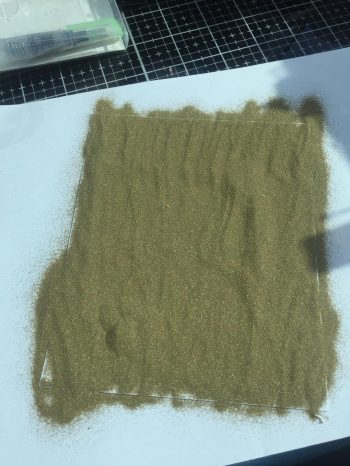
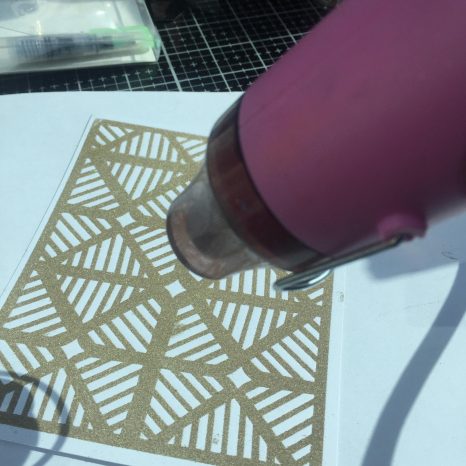
5) Sprinkle with embossing powder over the inked card, shake off the excess, and use the heat tool to set the design.
6) Trim your piece to suit.
Join the CoCrafters Community!
We recently started a Facebook group for craft lovers, as a place to share inspiration and keep the community connected. Come and join us!
