Give a lacklustre table a new lease of life using decoupage. This technique requires minimum supplies and spend yet affords beautiful results – prepare to get addicted! You can decoupage any wooden item, so feel free to apply this tutorial to that tired looking standard lamp or junk shop jewellery box find.
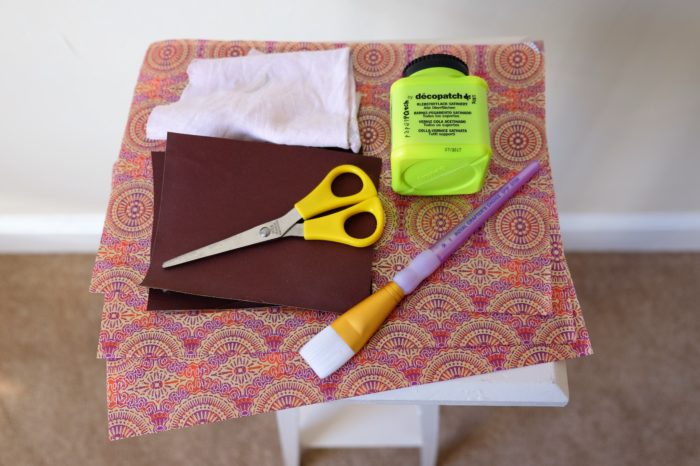
You will need:
Old rags (for cleaning)
Fine sandpaper (only needed if your table/item isn’t smooth)
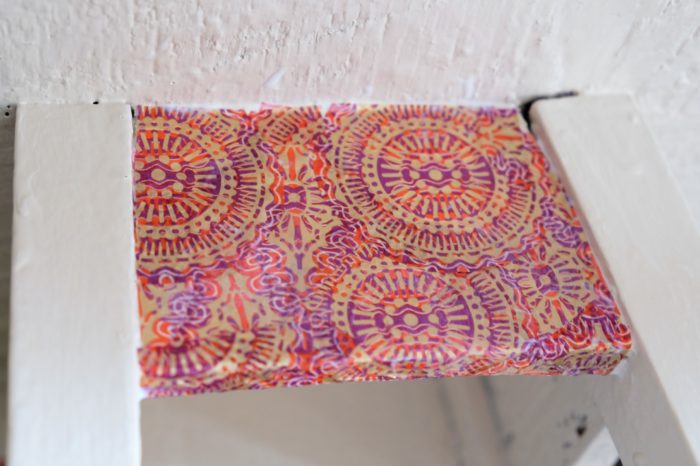
Decoupage papers – ours were from www.decopatchme.co.uk
Scissors
Decoupage glue varnish – our was from www.decopatchme.co.uk
Decoupage brush (a clean paintbrush works too)
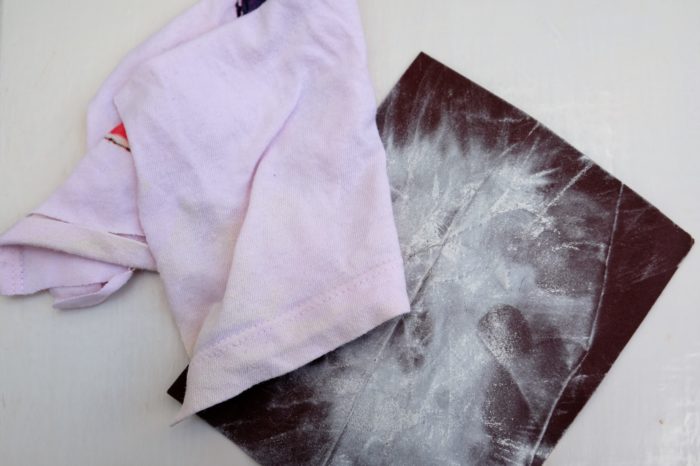
Step 1 – Clean Start
Make sure every part of your table is clean, dust free and smooth. Wipe down and dry your table and if it’s a little lumpy give it a light sanding too, remembering to wipe it down again afterwards. Varnish magnifies any imperfections, so this is a really important step.
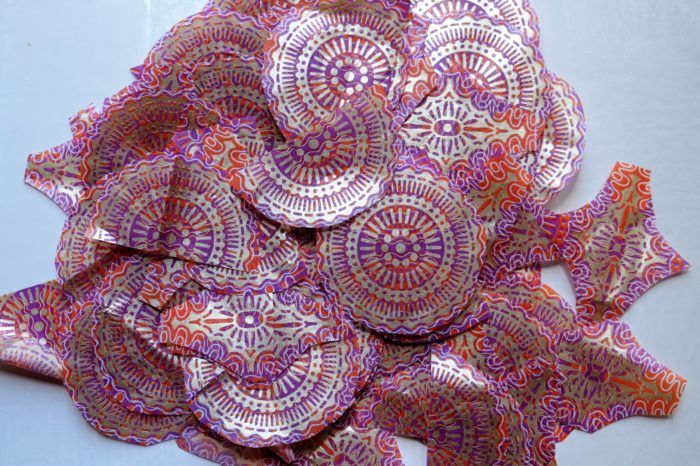
Step 2 – Paper Cut
Decoupage offers endless possibilities, so before you get started decide what areas of your table you’re going to cover and if you’re going to work with a single paper (as we are) or mix it up a little. If you’re going for a complicated design it’s a good idea to sketch it out before you start, so you have something to work from. Otherwise, cut up your paper however you fancy / accord to its pattern.
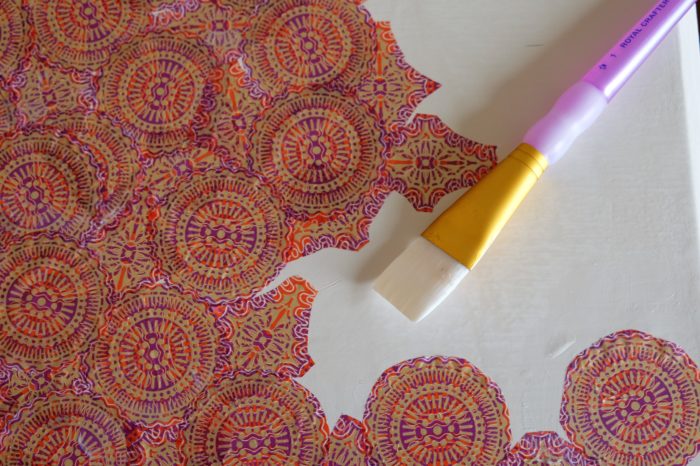
Step 3 – Get Gluing
Now you’re ready to start gluing your paper to your table. Don’t overload your brush with the glue varnish – a little goes a long way. Brush your glue on to the table, place the paper then apply a thin coat to the top to seal it. Repeat this as you cover your table.
Step 4 – Take Sides
If you need to turn your table on its side or upside down in order to get it all covered (the chances are you will), make sure each section is dry before you put it into contact with another surface – half an hour will be fine. Get the kettle on and put your feet up during drying times!
Step 5 – Finishing Touches
When you’ve done all your sides, including the table undersides if you want to do a proper job, you’re done! Leave to dry for an extra 30 minutes before putting it in pride of place and admiring your handiwork!
